
Leeds Glass Suppliers. Call our team on
Get A Fast Quote
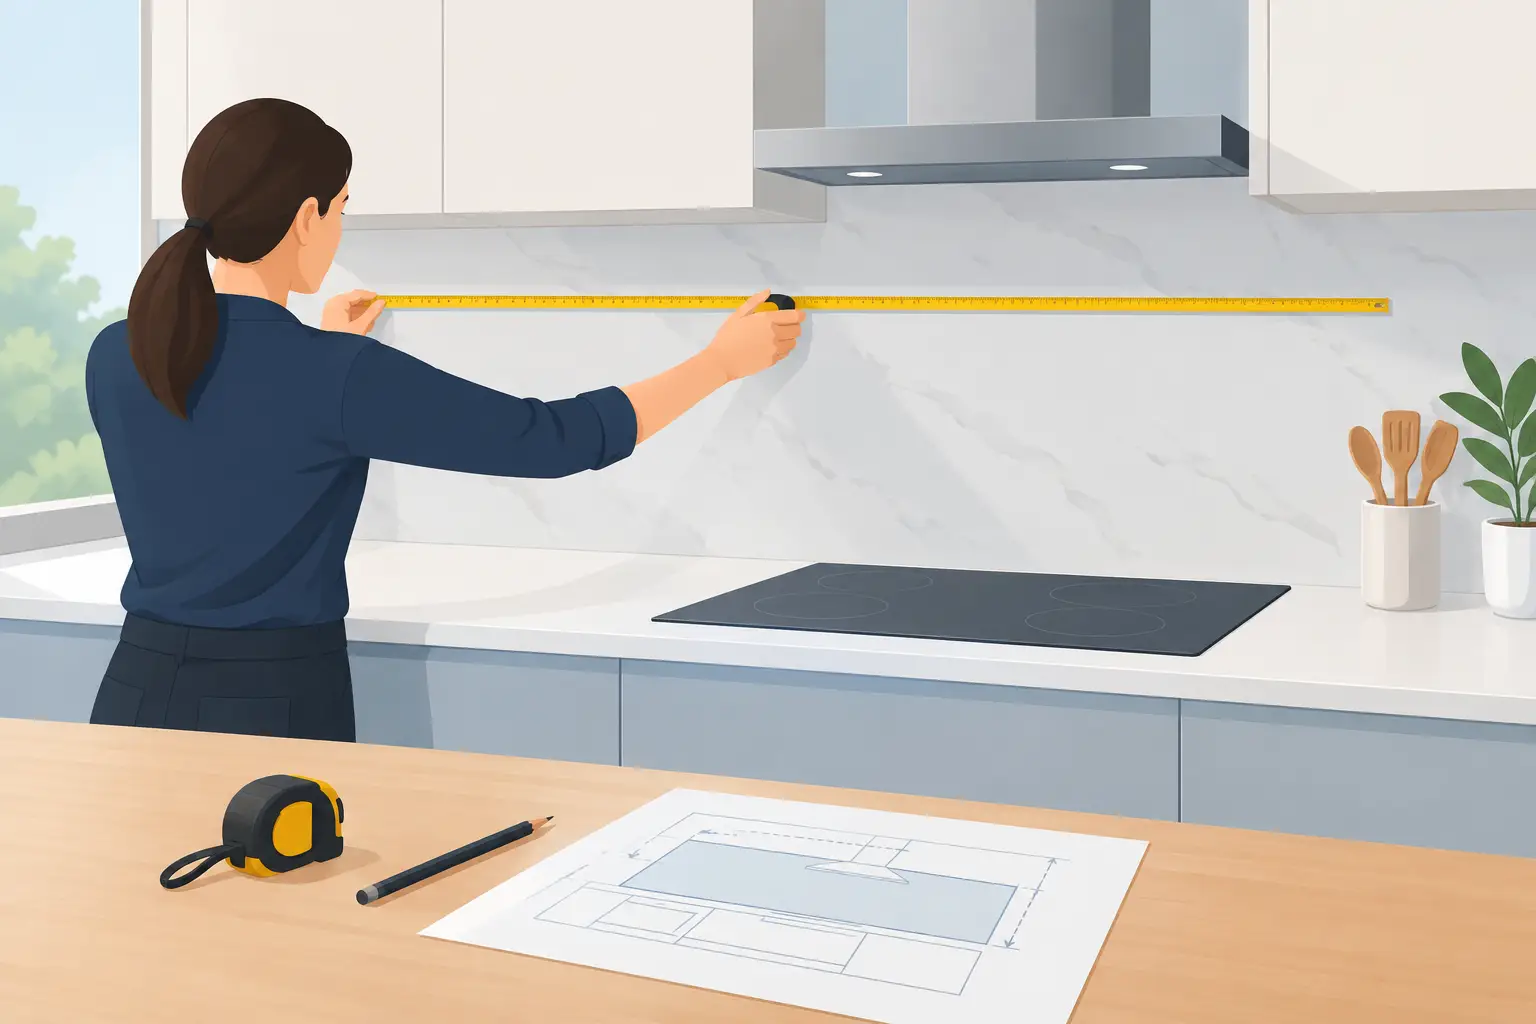
A glass splashback can be cut to an exact size, matched to your chosen colour and made around sockets, switches or an awkward chimney breast. That precision is its strength, but it also means measuring needs to be done at the right stage. If you are wondering how to measure splashbacks, the best rule is simple: measure the finished space the glass will sit in, not the space you expect to have before fitting.
For a straightforward run of units, a tape measure, pencil, paper and a little care may be all you need. For a wall with several cut-outs, uneven edges or a shaped area behind a hob, a site measure or template is often the safer option. Getting the details right before the glass is made avoids delays, unnecessary cost and a splashback that is a few millimetres short of looking properly finished.
Do not take final measurements from plans alone. Kitchen plans are useful for discussing sizes and getting an initial quote, but walls, worktops and units can move slightly during installation. A wall may not be perfectly square, a worktop may sit a little higher than expected, or a fitter may adjust a unit to suit the room.
Ideally, measure once the cabinets and worktops are fitted, the wall is finished and any tiling being retained is in place. If the splashback is going behind a hob, wait until the hob position is confirmed. If it is to finish against a wall unit, extractor or upstand, those elements should also be installed or at least fixed in their final position.
This matters most with painted glass. Unlike tiles, glass cannot be trimmed on site after it has been toughened. The panel is manufactured to the approved dimensions, including any holes or cut-outs, so the order must reflect the final opening.
For a simple rectangular splashback, take the width from left to right and the height from the worktop to the underside of the wall unit, extractor or other stopping point. Measure each dimension in at least three places: at both ends and through the middle.
Write down the smallest measurement for the width and height. This accounts for walls or cabinets that are not perfectly parallel. It may feel cautious, but it is preferable to a panel that is too large to fit because the gap narrows by a few millimetres at one end.
Also record where the glass is intended to finish. For example, does it run edge to edge across the worktop, stop at the side of an extractor, or continue behind an open shelf? A dimension without a clear end point can create confusion, especially where a side return or tall unit is involved.
A small fitting tolerance is usually allowed around the glass. The exact clearance depends on the installation method, wall condition and whether the panel meets other finishes. Avoid deciding on a random deduction yourself. Give the actual finished opening measurements and discuss the required tolerance with the fabricator or installer.
Long kitchen walls are commonly split into several pieces of glass. This may be because a chimney breast breaks the run, because sockets are positioned between panels, or simply because separate panels are more practical to handle and install.
Do not assume that two spaces either side of a hob or extractor are identical. Measure every panel position individually. Label them clearly on your sketch as left, centre and right, then add an arrow showing which way you were facing when you took the measurements. This simple detail prevents a socket cut-out being produced on the wrong side of a panel.
Socket cut-outs need more information than a width and height. First, measure the overall glass panel. Then measure the socket position from two fixed edges of that same panel, usually the left-hand edge and the bottom edge. This gives the manufacturer a reliable reference point.
For each socket or switch, note its visible faceplate size, its position and whether it sits horizontally or vertically. Measure from the same edges every time. Mixing measurements from the left edge for one point and the right edge for another is an easy mistake to make, particularly on a longer panel.
It is also worth checking the condition and depth of the electrical back box. A splashback adds thickness to the wall surface, so sockets may need longer fixing screws or suitable adjustment. An electrician can advise where necessary, and this should be considered before the final fit rather than on installation day.
Where possible, take a clear, straight-on photograph of the wall with your sketch nearby. It is not a replacement for dimensions, but it helps identify double sockets, fused spurs, switches and unusual layouts when the order is being checked.
The glass behind a hob needs the same accurate dimensions as any other splashback, but it has additional safety requirements. A suitable toughened glass specification is generally used for this area, as standard glass is not designed for the heat exposure.
Measure from the finished worktop surface upwards and from the true centreline of the hob where relevant. If the glass is centred behind the hob, confirm whether it is centred on the appliance itself, the chimney breast or the full run of units. These can be different centre points in an older kitchen or an off-centre layout.
Check the extractor hood position too. A wall-mounted chimney hood, a boxed-in extractor and an integrated canopy all create different stopping points. If the glass is to sit behind the hood, make sure you know whether it needs to run to the underside of the hood, behind its chimney section or only to a visible edge.
Manufacturer guidance for your hob and extractor should always take priority, particularly for gas appliances. The required clearances and wall finishes can vary. A good-looking panel must also be suitable for the way the kitchen is used.
A measured drawing works well for a square, rectangular wall. It becomes less reliable when the splashback has an angled end, a notch around boxing, a curved edge, a sloping ceiling or several precise cut-outs. In these cases, a full-size rigid template can remove guesswork.
Use a stable template material that will not stretch or distort. Mark the front face, top edge, room orientation and the position of all cut-outs. Note which edges are walls, worktops, cabinets or exposed edges. If an edge needs a polished finish because it will remain visible, identify that too.
Do not force a template into place. If it only fits when bent, the wall is likely uneven and the detail needs discussing. Glass is flat, so it cannot follow a bowed wall in the way a flexible sealant line can. A practical installation plan may involve a discreet gap and colour-matched sealant rather than trying to make the glass do something it cannot.
Look for loose plaster, proud screw heads, uneven tiles and thick blobs of adhesive. These can prevent the glass sitting flat. Small irregularities are normal, but anything that significantly pushes the panel forward should be resolved before installation.
Consider how the splashback will be fixed as well. A professionally fitted panel is commonly adhered to a suitable prepared surface, while some designs use visible screws or stand-off fixings. Screw-fixed glass requires hole positions to be agreed before manufacture, and those holes cannot be added once the glass has been toughened.
If you are fitting over existing tiles, check that they are sound and reasonably flat. It can be a sensible way to refresh a kitchen without a full strip-out, but the tile layout, grout lines and thickness may affect socket adjustments and final measurements.
Your sketch does not need to be an architectural drawing. It does need to be unambiguous. Draw each panel as a rectangle or shape, add the overall dimensions and show every socket, switch, hole and cut-out with measurements from fixed edges.
Include the glass colour, whether the panel is for behind a hob, and which edges will be exposed. If you are measuring several areas, such as a main worktop run and a utility room, put each one on a separate page. This makes the quotation and production checks far easier.
For homes across Leeds and Yorkshire, Yorkshire Glass can help turn a sketch, measurements or a more complicated site requirement into a made-to-measure specification. For unusual shapes or rooms where nothing appears quite square, asking for advice before manufacture is usually time well spent.
There is no prize for tackling a complicated glass installation alone. A professional measure is worthwhile where the splashback meets stone worktops, bespoke cabinetry, large-format panels, exposed edges or multiple electrical fittings. It is also sensible for commercial projects, rental refurbishments with tight timescales, and any installation where a replacement would be disruptive.
If you do measure yourself, take your time, measure twice and keep the original notes. The best splashbacks look effortless once fitted, but that clean finish begins with careful information before the glass reaches the workshop.
When you are ready, bring your measurements, photographs and any colour samples with you. A quick conversation at that point can catch a detail that a tape measure alone cannot.