
Leeds Glass Suppliers. Call our team on
Get A Fast Quote
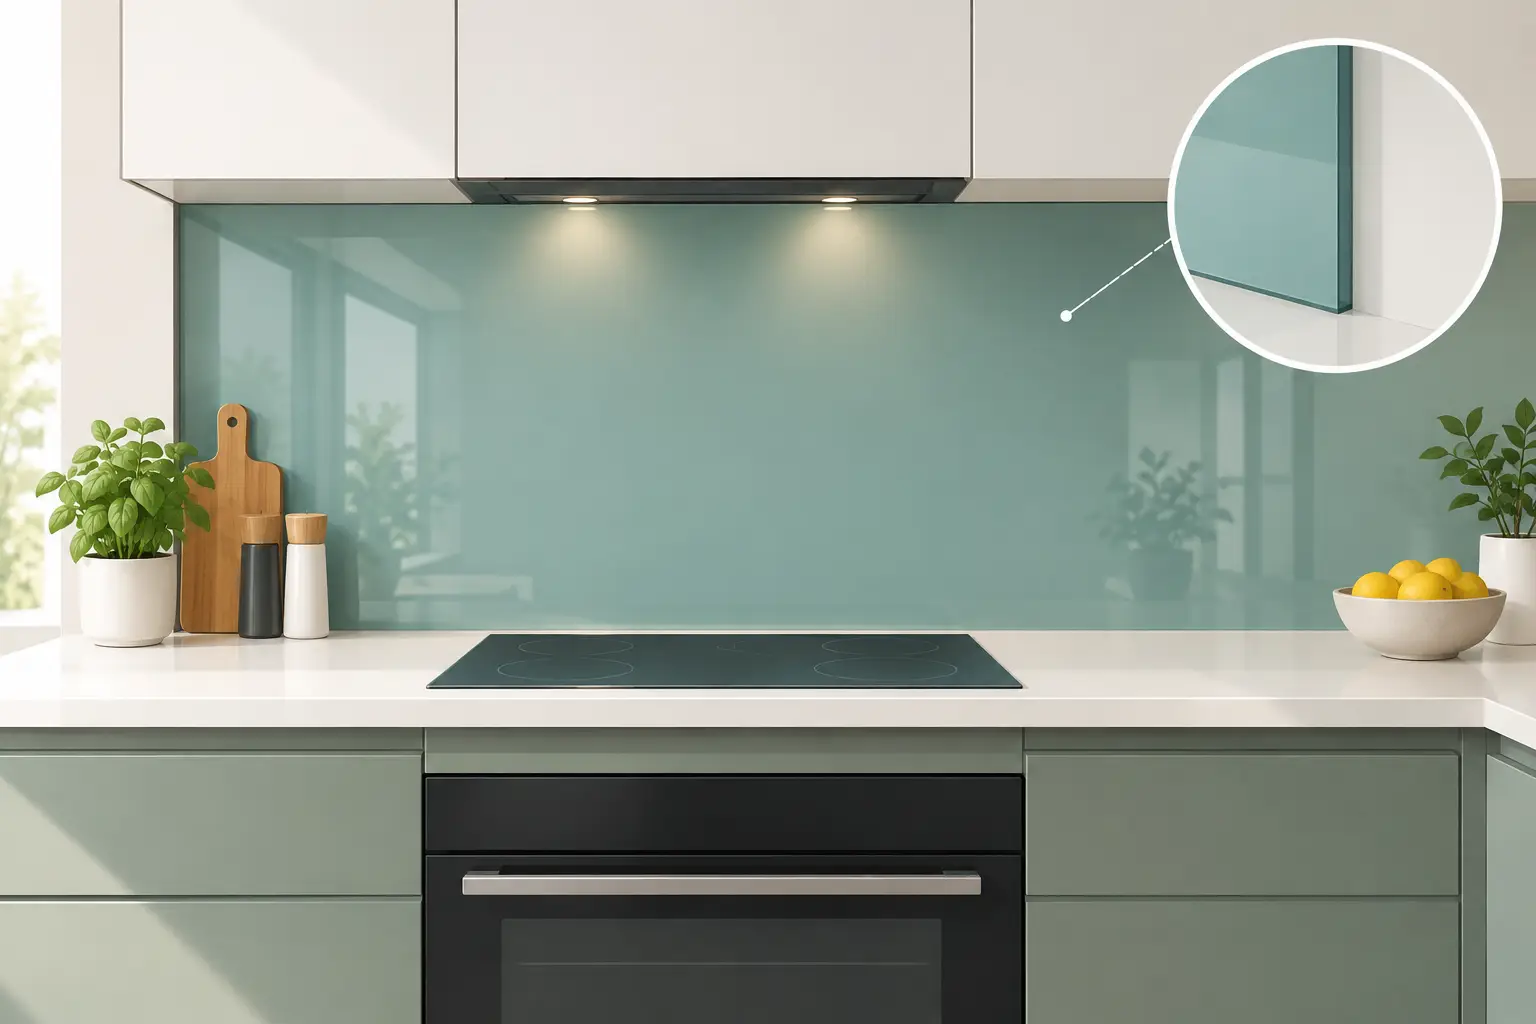
A new worktop can look excellent in the showroom, then lose its impact when it meets an awkward wall, uneven plaster or a row of sockets. That is where bespoke kitchen glass splashbacks earn their place. Rather than forcing a standard panel into a non-standard space, made-to-measure glass is produced around the kitchen you actually have.
For homeowners planning a refurbishment, the appeal is practical as well as visual. A correctly specified glass splashback gives a clean, continuous finish behind a hob or sink, protects the wall from everyday cooking marks and can introduce a carefully chosen colour without adding visual clutter. For trade customers, accurate templating and fabrication reduce the compromises that often appear when a project reaches its final fitting stage.
Kitchen walls are rarely as simple as they appear on a plan. There may be sockets, extractor cut-outs, boxed-in pipework, window reveals, sloping ceilings or a change in worktop level. Even a straight run can vary slightly once units, worktops and wall finishes are in place.
A bespoke splashback is measured and cut for these details. The result is a panel that sits neatly between the worktop and cabinets, with holes and notches positioned where they need to be. This matters aesthetically, but it also avoids the temptation to hide poor fits with oversized sealant lines or awkward trims.
Glass has another advantage over tiled finishes: fewer joints. A single painted glass panel gives a smooth surface that is quick to wipe after cooking. There is no grout to discolour or scrub, and a large sheet can make a compact kitchen feel calmer and more considered.
That said, glass is not automatically the right choice for every wall. A heavily textured surface may need preparation first, and the finished layout should be agreed before manufacture. Once toughened glass has been processed, it cannot be cut down or drilled on site. Care at the measuring stage is what makes the finished installation straightforward.
The most familiar option is a coloured splashback with paint applied to the reverse of the glass. The colour is protected behind the panel, leaving the front face glossy, durable and easy to clean. It can be selected to work with cabinetry, a worktop sample, wall paint or a feature colour elsewhere in the room.
White, soft grey and deep charcoal remain popular because they sit comfortably with a wide range of kitchens. But a splashback does not have to disappear into the background. Rich green, warm terracotta, navy and near-black shades can bring depth to pale cabinetry, while a lighter tone can lift a darker kitchen without the busyness of a patterned finish.
The amount of sheen is worth considering too. Standard glass has a naturally reflective surface, which can brighten a kitchen by bouncing light around the room. In a very sunny space, or where reflections from windows and pendant lights may be distracting, a sample is useful before making a final choice. The surrounding materials matter. A high-gloss panel can look particularly sharp against matt doors and a textured stone-effect worktop, while a more restrained colour may be best where the worktop already has strong movement.
Mirrored glass is another option for certain layouts. It can create the impression of extra depth in a narrow kitchen or bring more light to a darker area. It does, however, show fingerprints and cooking splashes more readily than a solid coloured panel, so it tends to suit lower-splash areas or kitchens where the look is worth the additional cleaning.
Not all glass is suitable for use behind a hob. Where heat is involved, the splashback should normally be made from toughened safety glass. Toughening strengthens the glass and gives it a safe break pattern should it ever fail. It is the appropriate choice for the higher temperatures found behind gas hobs and in other demanding kitchen areas.
The required clearance and specification can depend on the hob manufacturer’s instructions, the type of appliance and the wall construction. Induction hobs generally produce less direct heat at the rear than gas, but assumptions are best avoided. Providing appliance details early allows the glass to be specified properly rather than relying on a one-size-fits-all answer.
This is also why final measurements should be taken after the worktop, units and sockets are fixed in their final positions. Moving an electrical point by even a few millimetres after a panel has been toughened can mean remaking the glass. Good planning is not about slowing a kitchen project down. It is about preventing a small late change from becoming an expensive one.
The best splashbacks look simple because the complicated decisions have been dealt with before production. The height of the glass, the position of cut-outs, the edge finish and the way panels meet in a corner all affect the final appearance.
Polished edges are a small but important detail, particularly where an edge remains visible beside a cabinet or at the end of a worktop run. They give the glass a smooth, finished appearance and make cleaning easier. Where two panels meet, a fine, consistent joint is usually preferable to trying to make separate pieces appear as one oversized sheet.
Socket cut-outs need equally careful attention. A panel can be made with precise openings for standard electrical accessories, but the faceplates must allow for the glass thickness when refitted. Your electrician and glass supplier should be working from the same final layout. It is a simple coordination point that prevents rushed adjustments at the end of the job.
Sealant choice matters as well. A neat line around the lower edge helps protect the wall behind the glass from moisture and food residue. It should be tidy and proportionate, not used to disguise inaccurate dimensions or an uneven surface.
The process usually starts with the kitchen design, a colour idea and rough dimensions for a quotation. At this stage, photographs and a clear note of the hob, sockets and any unusual wall features are helpful. A rough price can then be discussed before the final specification is confirmed.
Final measuring comes later, once the kitchen is stable. Worktops should be fitted, wall units in place and sockets positioned. If the project has unusual angles, large panels, multiple cut-outs or a difficult access route, professional measuring is particularly worthwhile. Glass is made precisely, but it cannot correct changes made after the fact.
At Yorkshire Glass, panels are manufactured in the Leeds workshop rather than selected from standard stock. That allows the team to produce individually sized pieces, discuss colours and practical details directly, and help with unusual requirements that do not fit a standard template. Homeowners can also see samples and talk through their options in person, which is often more useful than choosing a shade from a screen.
During fitting, the wall should be clean, dry and suitably sound. Adhesive is applied in a way that supports the panel without showing through the finished glass, and installers allow for small tolerances at surrounding walls and units. Larger or heavier pieces may need extra handling and planning, especially where access is tight or the property has stairs.
Day-to-day care is uncomplicated. A soft cloth with warm water and a mild glass cleaner will remove most marks. For greasy areas behind a hob, clean sooner rather than allowing residue to bake on repeatedly. Avoid abrasive pads, scouring powders and harsh tools that could scratch the surface or damage sealant at the edges.
Glass is durable, but it is not indestructible. Do not knock pans, utensils or heavy appliances against exposed edges. If a sealant line begins to lift or discolour after years of use, it can usually be renewed before moisture has a chance to reach the wall behind it.
A splashback should feel like a considered part of the kitchen, not an afterthought added once the decorating is finished. Bring a worktop sample, cabinet door or paint reference when discussing colour, and make the final measurement only when every fixed element is in place. That little bit of preparation is what turns a useful protective panel into a finish that makes the whole kitchen look complete.